✈️ The Ark
Starting Cutscene
As soon as the level starts, return to menu if you havent already done so in Beacon 1. Menuing in Effect and Cause 1 will not give you the Ion Titan loadout required to do Snakesplitter. If you do xnopyt in Trial by Fire, this menu will also give you the missed Northstar loadout.
Once you reload into the level, throw a frag off of the ship you are on. When the cutscene ends, it will refill your grenade stock, but only if you are empty.
It's best not to shoot for no reason, or even slide along the ship, as this could sometimes bug the game and cause you to die. (Ark moment)
Now simply wait until you land on Barker's ship.
Barker + 6-4
Standard Route
Simply wait for BT to allow you to fastball onto the 6-4's ship, and jump when the 6-4 say to.
Barker
Barker Skip
Blaidan's Method
Then pay attention to the dialogue and wait for the Crow CPT to say "Commander Briggs", then in the middle of the pause from the comma, start to pull a frag. As you pull the frag, look at your crosshair, and note how spread apart the crosses are fron the center. Wait for it to "breathe" once (so that it ends up at the same position it was initially), then drop it by using your scroll wheel to swap to another weapon. Walk backwards a small bit and then run forwards and immediately slide. Jump before you fall into the slant below and this should allow you to get boosted from the grenade reliably.
Bryonato's Method
I forgor
Note: There are different seeds for the ship's movement, meaning it will sometimes be much easier to make it to the 6-4 and sometimes even be nearly impossible.
6-4
6-4 Skip
Note: You can only really do 6-4 skip if you do Barker skip.
As you land on the 6-4, stand at the edge of the right wing to avoid activating the fall timer and dying. The 6-4 will start to strafe left; as they start to level out, approach the front of the ship. When they are completely level, slide off the ship without jumping. Double jump as early as possible to avoid getting killed by the fall timer, which kills you after you are falling for too long.
Sometimes the 6-4 will approach the malta from very high up. If you try to jump to the malta normally when this happens, you will activate the fall timer and die before you can land on the ship. Luckly, there is an invisible wall on the right that you can crash into, allowing you to land on the ship safely.The Malta
Make your way to the elevator on the opposite side of the entrance and jump over the grunts coming out.
Slide out of the elevator when it opens and slide hop over to the third gun battery; the first two do not need to be cleared to progress the mission, as long as the third one is cleared fast enough. Start cooking a frag as you are on the wall between the 2nd and 3rd gun battery and throw it between the gunner and the close grunt on his right. Take out the rest of the grunts with the mastiff or the double take, making sure to keep double jumping to avoid the scripted stagger that occurs. Once the 6-4 board the ship, choose the top dialogue option (Good covering fire). Stand on the corner of the guardrails where it bends.
The Malta Room Clear
As Sarah starts to rise, run off of the rails and strafe to make it to the top of Sarah's ship. Wait for the ship's movement to start stabilizing before sliding onto the side of the Malta. Start to pull a frag just before you slide off and throw it down onto the left side of the group of grunts below. Start to shoot any grunts that didn't die to the explosion. Pick up any firestars if possible, then make your way to the other side of the ship and kill any grunts on the way. Use a firestar on the shielded grunts coming up the elevator and on the group of grunts under and to the right of the elevator. Go up the stairway and use the mastiff to kill the grunts and stalkers.
Steering and Crash avoidance
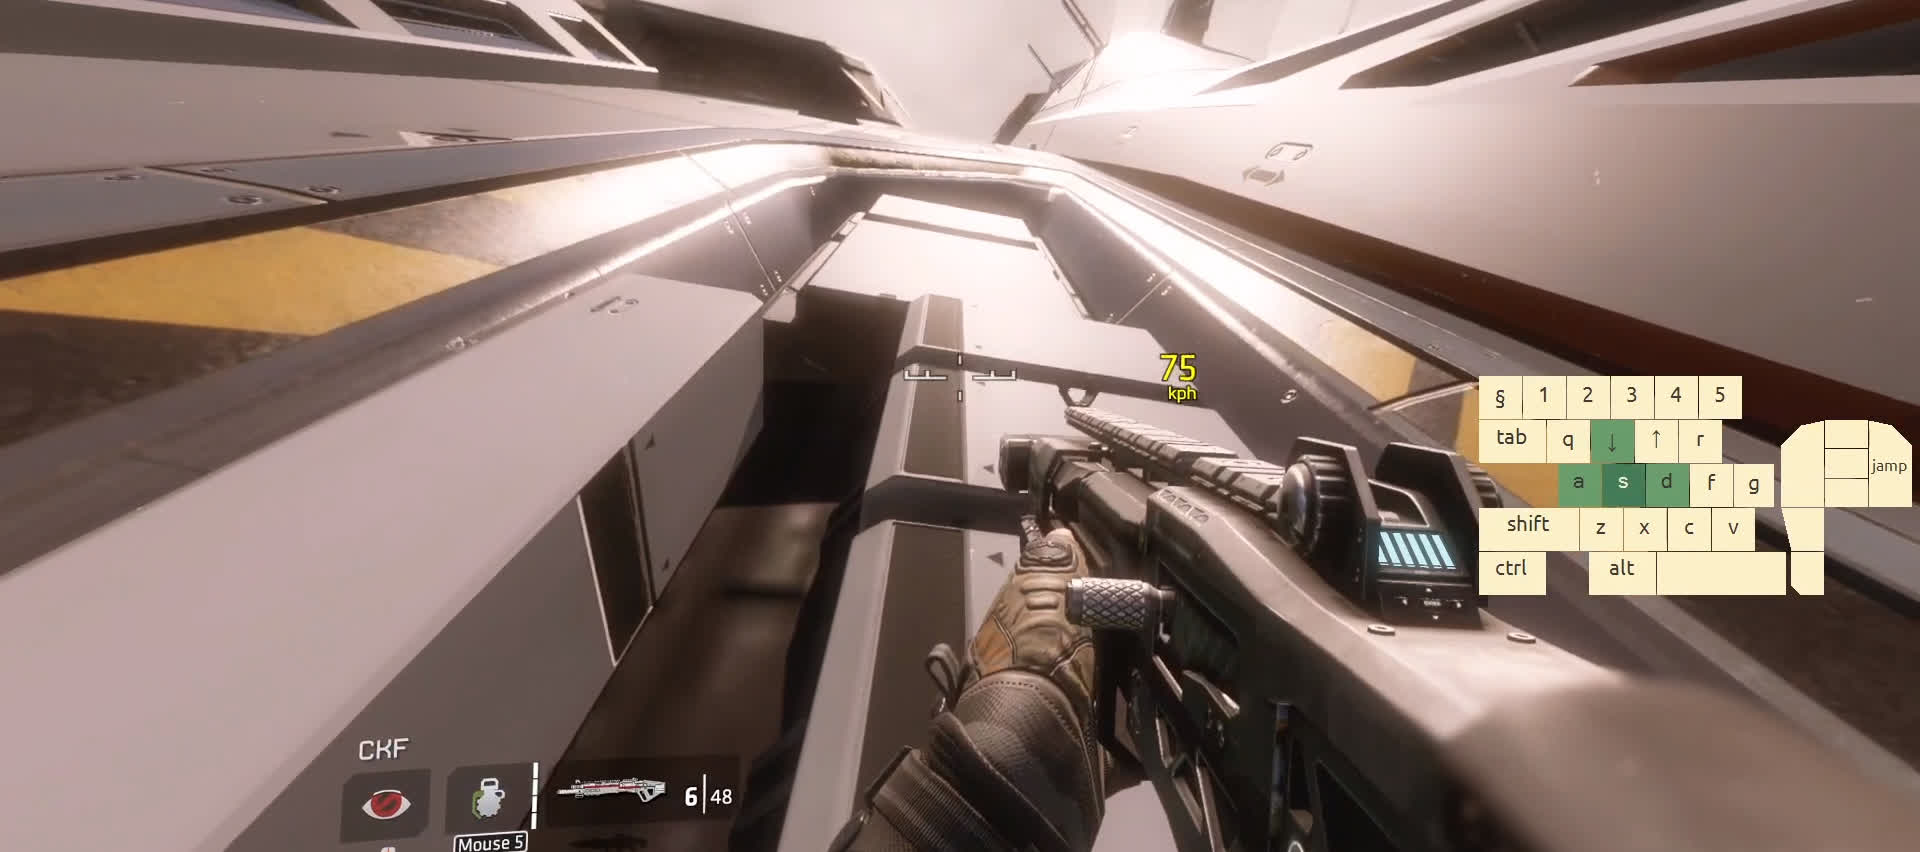
Swap between back and right keys to steer towards the Draconis. Make adjustments if necessary.
There is a possible crash here that is the result of barker skip. Some strategies that lessen the chances of crashing include:
- Waiting half a second or so before interacting with/walking near the control panel
- Having your last input steer the ship upwards
- Jumping before and after the steer
- Running up and down the stairs during the cutscene
If you performed Barker skip, BT's hand's hitbox becomes a trigger that crashes the game if you touch it. Avoid getting too close to his hand when BT is punching the glass - stay back and only approach when BT pulls his hand back.
Viper
Viper is split into two parts: Viper Fight and the Clip In-Bounds.
Viper Fight
Snakesplitter
Make sure to hold 'Forward + Sprint' through the whole Viper Cutscene. Otherwise there will be a delay in your first Northstar shot.
Clip In-Bounds
As a result of how the skybox moves throughout this level, killing viper too fast could result in you clipping out of bounds during the cutscene where viper drags you to the draconis. There are 2 methods to avoid the moving skybox pushing you off the ship:
Mantle Clip
Go to the right side of the draconis and mantle back up when the skybox starts to push you.
Mantle Clip Skip
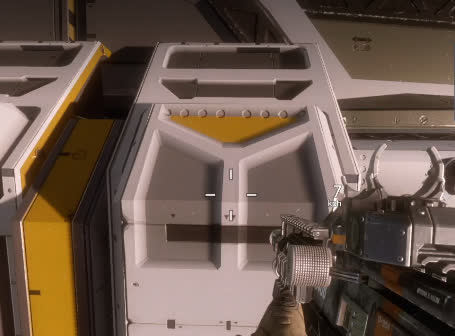
In the lowered part of the Draconis on the right, stand on the black line shown in the image and hold backwards as the wall starts to push you
[pro and con for both methods? -mats]
Kill Viper as quickly as you can and make sure to select one of the dialogue options afterwards. (It doesn't matter which one but selecting one of them is faster than doing nothing. -mats)
Final Cutscene
Continue through as normal, making sure to hold forward while grabbing the ark, and to use both dialogue options when the ship is going down.